Scroll through to see what's new or click through the tabs to find what you're interested in!


Showing posts with label The Studio. Show all posts

Friday, September 2, 2016

Project: Desk Redo!


This time last week I was running all over San Antonio picking up things to take to my brother for his freshman year of college. Somewhere in between picking up succulents at Home Depot and a stapler at Target I decided that I wanted to start redoing my workspace. At the beginning of the year I posted about redoing my whole office space, but it's been a little overwhelming. And to be honest, I keep buying new shoes instead of a marble coffee table and a fiddle leaf fig tree. I mean priorities, right?

Anyway starting with the workstation is a small enough project that I won't break the bank and I can still feel inspired when I sit down to my computer. I just wish there was a magic wand that could get rid of all the clutter that is currently residing on my desk! 

I love all of these geometric shapes and the idea of mixing metals. Plus, if you want a candle that makes working on your computer much more enjoyable I reccommend this one! Diptyque is one of my favorite candle brands and Roses is one of my favorite scents. (The perfume is great, too!)

This weekend I will definitely be making a trip to CB2 and Homegoods to pick up a few great things.

What are some of your Fall projects?

Love you lots,

Thursday, April 14, 2016

DIY: Fiesta Cascarones!


Every April I look forward to Fiesta in San Antonio! I won't be able to attend this year, but it's one of the things I miss most about home every spring. To celebrate the start of this two week party I decided to share with you how to make cascarones, a Fiesta essential!

I grew up having these confetti-filled eggs at every school carnival, Easter and, of course, Fiesta! They're easy to make and fun to decorate your house with if you don't want to smash them. Throw a bunch of these into a bowl with some tissue paper flowers for a fun centerpiece at your next fiesta. If you want the colors to pop a little more then I recommend using white eggs, you can dye them like Easter eggs or paint them by hand!

Happy crafting!

Love you lots,

Thursday, March 24, 2016

A tisket, A tasket, Making an Easter Basket!


I went to Target and filled my little carry basket to the top with all kinds of fun Easter basket goodies. I take holidays very serious and Easter is one of my favs! I plan to grab brunch and then spend the rest of the day soaking up the spring sun by the pool! And maybe cheating on my meal plan with my best friend Reese's... I guess I'll fit in a gym session after the pool, too!

So grab a sun hat, a scarf and some easter treats and you'll have an Easter basket that the Bunny himself will be jealous of!

Love you lots,

Monday, March 14, 2016

DIY: Resort Wear!


Let's just say I am a little obsessed with looking at fashion blogs and scrolling through Instagram and seeing all the cool resort wear that people have right now! I'm not going anywhere tropical, but just in case you're planning a beach vacay I wanted to show you these super easy projects that will save a little money on some of my favorite poolside trends. 

I plan to carry this bag with a ton of my summer dresses and it will definitely accompany me to the pool once all these storms clear and the temperatures start to rise. I can't wait!

Let me know if you make any of these projects! I'd love to see how you make them your own and even how you style them!

What should I DIY next? I always love your suggestions!

Love you lots, 


Sunday, March 6, 2016

DIY: Spring Break Essentials!!


Packing for spring break can get expensive!! But if you DIY a few essential items the total price tag can definitely come down a bit. All you need is a tube of really strong glue and a free afternoon!

I hated going on spring break and seeing everyone wearing the same swimsuit or the same sunglasses. Make all of these projects your own! Mix up the colors, use pink beads instead of turquoise and I promise you'll be one of a kind! Plus, everyone will want to know where you got your super cute and unique gear.

And if you're going with a bunch of people you can make all your friends a SB16 gift before you go! It might get you enough brownie point to score a bed in that overcrowded hotel you're all sharing! 

Have fun making these DIYs and send me pics if you decide to make any of them! I'd love to see your variations and creations!

Love you lots, 

Thursday, February 11, 2016

DIY: Dollar Store Valentine's Gifts!


It's almost Valentine's Day and I created a few SUPER CHEAP, SUPER EASY and SUPER QUICK gifts that you can make for your someone special!! Don't get me wrong, I love the craft store and once I am in Michael's it's tough to find my way out with out spending a ton of money, but I've come to realize that you can get a lot of the same stuff for no more than $1.00!

The best thing about this is that I only spent $10 total for all of these! AND it would have been under $5 if you only count the stuff in this video! I did buy a foam board to use to protect the table!

Let me know which one is your favorite!! And I would love to see if you recreate any of these!

Love you lots, 

Saturday, January 23, 2016

The Perfect Rainy Day!

So it's supposed to rain ALL weekend here in Napa and I know a large majority of the East Coast is getting huge snowstorms! That means it looks like we are all stuck inside this weekend...

We could be responsible and organize something, catch up on all of our laundry, meal prep for the week ahead. Orrrrrr you could plan the most amazing movie marathon to curl up on the couch with and RELAX! I've never really planned a movie marathon before, it kind of just happens clicking through Netflix. This weekend, however, I'm doing it right and planning it all out!

Pick your movies! Are you super ambitious and want to tackle the whole Harry Potter Series? Or would you rather pick an actor? I think an Anne Hathaway marathon would be so much fun (Princess Diaries (1&2), Devil Wears Prada, Bride Wars)! Or maybe even a Reese Witherspoon compilation (Both Legally Blondes, Sweet Home Alabama, Water for Elephants, This Means War)!

Now, how are you going to watch them? Redbox, Netflix, Amazon Prime? The last thing you want is to spend an hour in between the movies figuring out how to watch the movie you're planning on.

Reese's Pieces || Quinn Popcorn (I found it at Homegoods!) ||
Popping Corn || Air Popper || Graham Crackers || Nutella || Gummy Bears ||

Every movie marathon needs snacks! My favorite snack in the world is popcorn! It might be a little cliché, but movies need popcorn! If you love popcorn as much as I do, I would totally invest in an air popper. You can make a lot of popcorn and you can make it a lot healthier. Bags of popcorn with fake butter and chemicals can totally ruin your healthy routine (not that Reese's Pieces and Gummy Bears are going to help either). With air popped popcorn made on your own you can a little sea salt and have a great treat with much less sodium and fat! If you want a cheat snack, though, a little Nutella on a graham cracker is one of my favorites!


Nail Polish || Nail Kit || Ocean Coloring Book || Colored Pencils ||
Milk Bar Cookie Mix || Measuring Cups || Measuring Spoons ||
AvoBath Bomb || Shower Scrub || Peppermint Foot Cream ||

I am wayyyyy to hyper to sit still for an entire movie marathon. Plus, I would feel a little guilty at the end of the day if all I did was sit on the couch. So while watching my plethora of chick flicks I'm going to give myself a manicure! I have been obsessed with this light pink Deborah Lippmann polish!! I also scored this Lost Ocean coloring book on sale at Anthropologie, so I plan to destress with a bit of coloring in!

Then I recommend having something to do in between movies to break it up a bit and give your legs a second to stretch out! Target sells Milk Bar products and if you've ever had one of their cookies you'll know how exciting this is! Take a break and pop some cookies in the oven. Baking is super relaxing to me and you get a delicious treat afterwards. Plus, your house will smell amazing!

So now that your nails are done and your sweet tooth is satisfied it's time to pamper yourself! Before you queue up the last movie make yourself a bath, use your favorite bath bomb, exfoliate and throw on a sheet mask! It's the last step of totally decompressing and relaxing!

I hope you are staying safe in all this crazy weather! Take advantage of being stuck indoors and have some fun! Don't forget to spread a little sunlight today!

Love you lots,


Saturday, January 9, 2016

The Great Office Makeover!!


It has taken forever to finish decorating my house. When you move into an actual house with nothing, but 100 pairs of shoes, a chair and a tiny bookshelf, furnishing the rest of the space can get a little expensive. Now that the majority of the house is taken care of I want to focus on the office space. 

At the moment that room stresses me out BIG TIME. It's the storage room, the file cabinet, the junk drawer of the house. I keep the door closed because it throws my OCD-self into a spinning anxiety attack. So this year I want to create my dream office space. I want to increase my productivity and have a beautiful space to create! 

So I've created my vision board to share with you!

White, clean lines and touch of metallics to mix it up a bit! Lot's of pillows and blankets to create a softness in contrast to the marble and metal. Plus, then I can cuddle up and read a book in between projects! Maybe even a place to take a tiny nap after staring into my computer screen for hours. 

Then I wouldn't create a space without some greenery. I am kind of terrible at keeping really plants alive, so I've always wanted a fig tree. I've heard that they are great indoor plants and they are super low maintenance! Everything else will be happy and plastic and therefore always alive! 

Love you lots, 


Tuesday, December 29, 2015

Build your own bar cart!

KB loves to make drinks and we both love anything with a mid-century mod feel. This Christmas I decided to build him a bar cart! I used a bunch of bar stuff that we already had and added a few more to make it a complete cart. It turned out better than I could have imagined, mostly because KB really liked his Christmas presents! 


Love you lots, 

Wednesday, December 23, 2015

DIY: Christmas Ornaments!


The year is almost over and Christmas is almost here! That means last minute Christmas gifts and New Year's resolutions. This project combines both! 

Other than getting healthy/losing weight, I think the most popular resolution is to declutter. Especially, if you get The Life-Changing Magic of Tidying Up for Christmas! But, start your resolution early and make these ornaments while decluttering your crafting stuff. If you're like me you have a ton of leftovers from craft projects and over the years it's built up to be quite a bit cluttered beads, rhinestone and tangled ribbon. So all you need to buy are blank ornaments (which are super on sale at Michael's) and then go through your leftovers to make these beautiful ornaments. 

Make them tonight or in the morning for the perfect hostess gifts!!

Love you lots, 

Saturday, December 19, 2015

DIY: Christmas Pajamas!


DIY Shirt (scroll down) || Gap Leggings || L.L. Bean Moccasins || 

Every Christmas Eve my brother and I are allowed to open one present. For a really long time the excitement of what that one early present could be was consumed me and I would be surprised every year, even though it was always Christmas pajamas. I think she did it so we looked cute in all the Christmas morning photos (fleece onsies were a theme 7 years ago). Now it is one of my favorite Christmas traditions and I look forward to a new warm pair of pajamas all day on Christmas Eve.

I saw similar tunics to this one on Instagram a lot recently and thought, "I can make that." So for the tunic on Amazon and some gold paint (I already had that), I got to work and created this super cozy and adorable reindeer pajama top! You could totally wear it on it's own because it's so long, but I get really cold so I paired it with some printed leggings!

Ready to make your own?
This is the white tunic that I used!

This would be a great present for your girls! Nothing is more insta-worthy than matching Christmas pajamas and your squad!

Love you lots,

Thursday, December 17, 2015

State Love Ornaments

I love personalizing things! And I've always wanted to make a big wall hanging showing love for my home state and make one for KB to show his, too! Then I thought, why not make this a Christmas project and turn them into ornaments! So that's what I did! 

What you'll need: 
Sheet of very thin Balsa Wood
Image of the state(s) 
Two colors of paint
Matching ribbon
Pencil 
Paintbrush 
X-Acto Knife

Mod Podge and Glitter are optional. I had a plan, but liked the ornaments without so chose not to go overboard with a bunch of glitter! Plus, they dried faster and were ready to go on the tree in no time!

Step 1: On a piece of cardboard or a cutting board use the X-Acto knife to cut out the states. 

Step 2: Turn the state over so that it is the wrong direction and trace it. This will keep your pencil marks from coming through the paint. 

Step 3: Find where you want the ribbon to loop through and draw a small circle to cut out later. 

Step 4: Back on the cardboard or cutting board, use the X-Acto knife to cut out your states. It might take a few passes to cut all the way through the wood.


Step 5: Pick your base color. I chose silver to match the rest of my tree! Paint both sides and the edges of the state! It might warp a little so do your best to keep it flat. 

Step 6: Once the base is dry (or mostly dry) use a toothpick or small paintbrush to paint a heart on your hometown in the other color that you picked. 

Step 7: Let them dry completely! Then string your ribbon through the hole and tie a knot.


I love how these turned out! They're so cute on the tree and add a super personal touch amongst all the other store bought ornaments. If you don't have Balsa wood you could totally do this with cardboard or foam board!  Which state will you be making? 

Love you lots, 

Saturday, December 12, 2015

12 days 'til Christmas!


Counting down to Christmas is so much fun! I absolutely adore advent calendars and growing up counted down every year on an embroidered one my grandma made us. This year I was a bit lazy and missed the first of the month. By December 5th, I'd come up with this idea, but felt silly making a 25 day advent calendar when I'd already missed the first week of December! So I decided to not let a good idea go to waste and to celebrate the 12 days of Christmas instead by starting my countdown tomorrow all the way to the big day! 

What you'll need: 
I got almost everything from Target in one quick trip! 

Craft Paper (I used wrapping paper) 
Paint (in Shimmer Egg and 20k Gold
Burlap pouches 
Gold Felt (last minute idea)
Glue Gun & Glue
Paintbrushes (one wide and one narrow)
Masking tape or Painter's tape
X-Acto Knife

This was the inspiration! It was nice to have a reference sketch to look at while I painted.

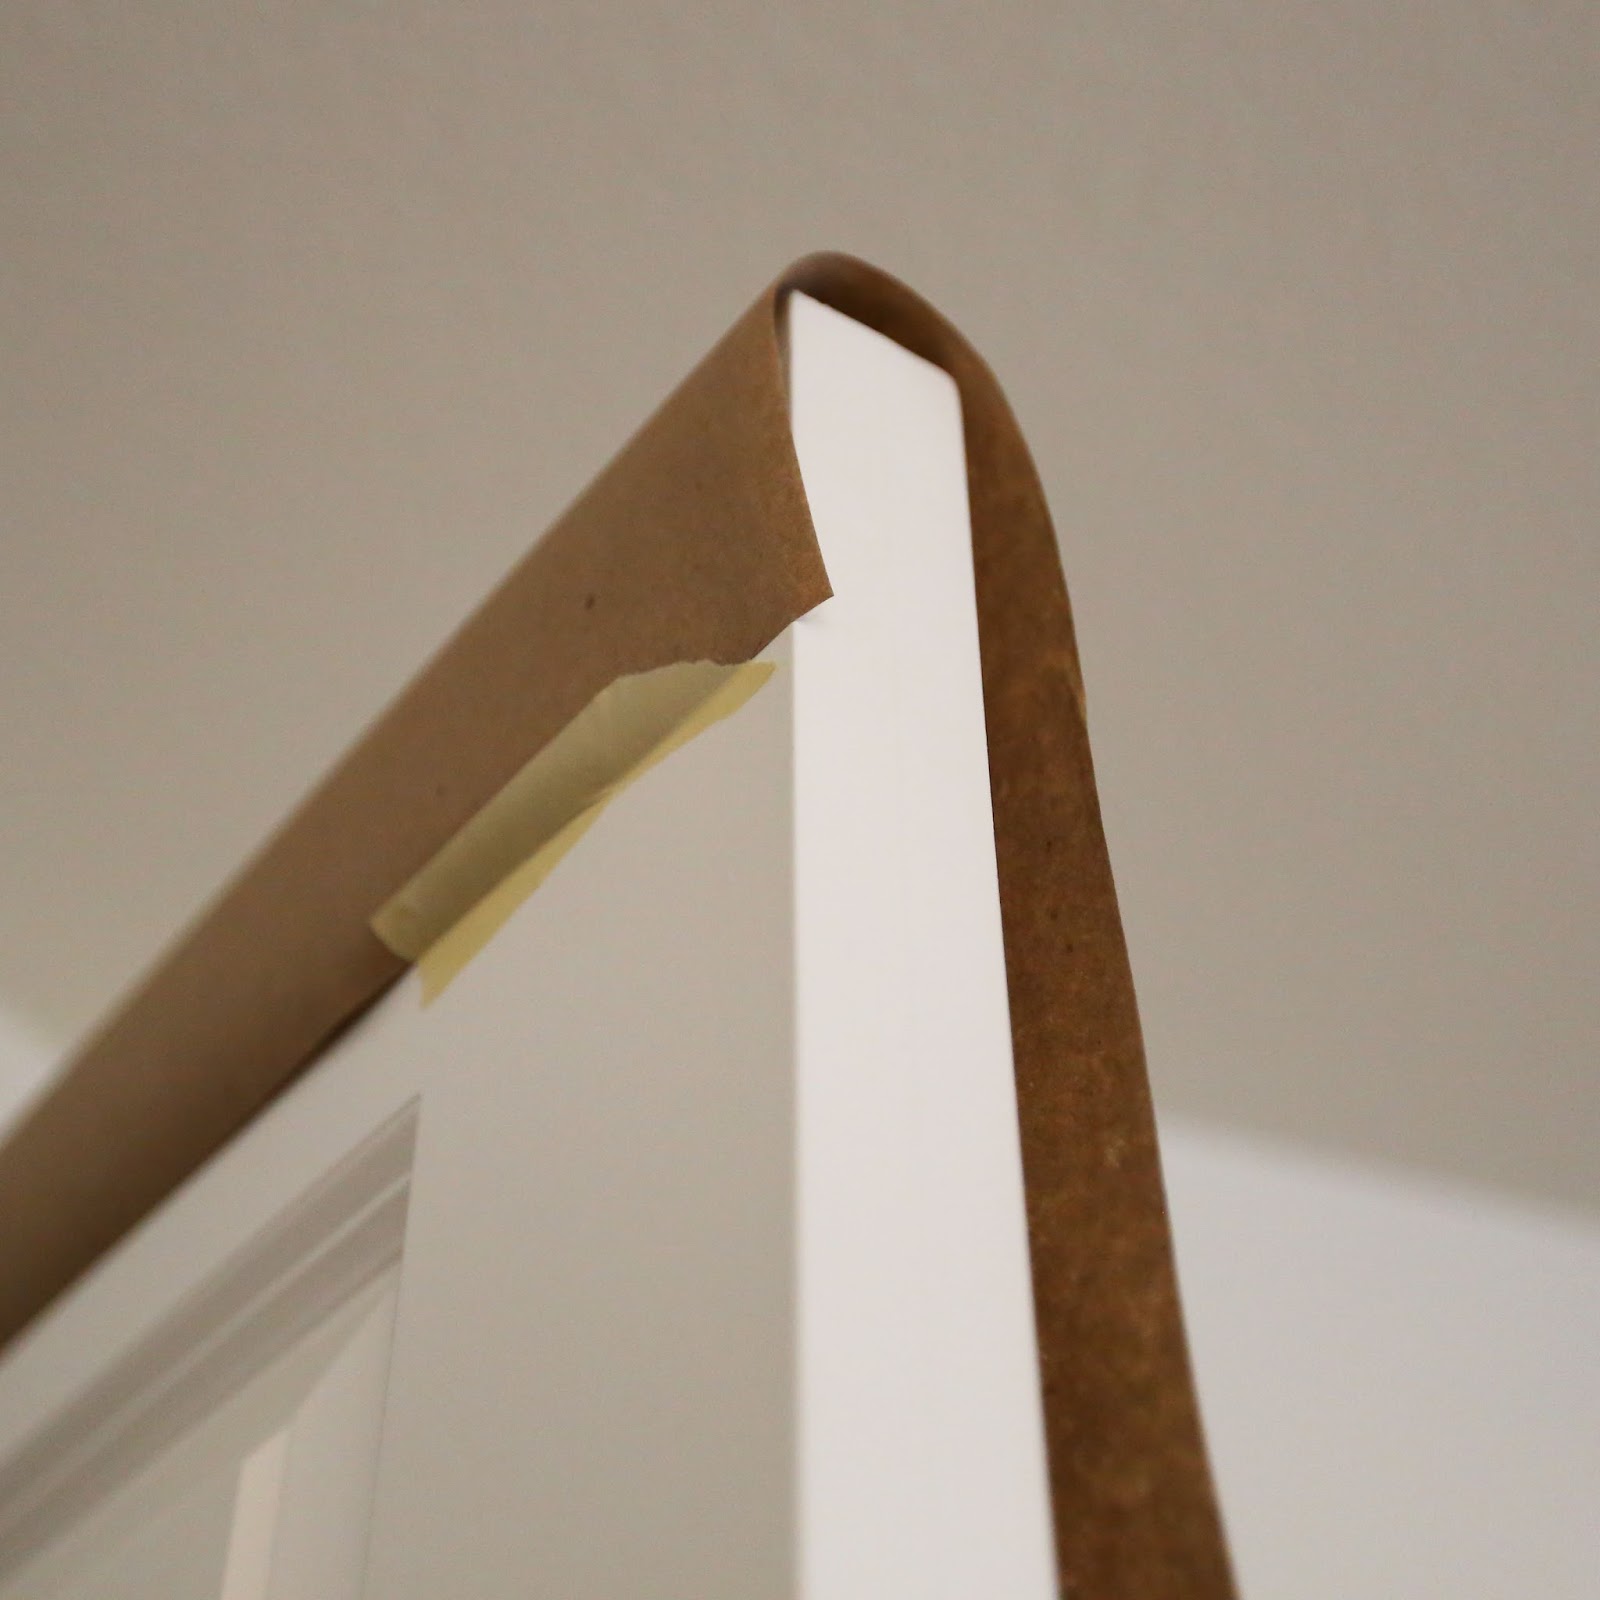
Step 1: Roll out your paper and fold it over the top of your door. Use masking tape to secure it. 

Step 2: Cut out spaces for the door knob, and in my case, the bumper for the wall. 

Step 3: Cut off the bottom of the paper with enough extra to wrap under the door. Once again, secure it with the masking tape so that it doesn't catch on anything. 

Step 4:  I used a piece of felt as a guide at the top so when I painted there would still be room for the star. Then I started painting my tree with the white shimmer paint (it ended up looking really silver on the craft paper). I freehanded it, but I recommend tracing it with a pencil first. 


Step 5: While you let the paint dry, start on your stencils and number your burlap bags.


Step 6: Fill in the stencils with the white shimmer paint! And then outline them with the gold paint! I ended up using a fabric puff paint to make outlining a little easier, but you can definitely do it with a fine paint brush!  Make sure you put a piece of cardboard in the pouch so your paint doesn't soak through to the back!


Step 7: While the pouches dry, move back over to your painted tree to glue on the clothespins.
Using your hot glue gun put a thin line of glue and then stick it to your tree. Double and triple check that's where you want it to go because you can't take it off and try again.


Step 8: When your pouches are dry hang them from the clothespins!


Step 9: Add a star to the top and fill the little bags with goodies! KB is filling mine so check my Instagram and Twitter to see what he's hidden inside each one!

After Christmas, just take off the tape on the back, roll it up like a poster and use it again next year! I might add the thirteen other days next year for a full advent!

Only 12 days left! Who's excited?!

Love you lots,
P.S. I am very sorry I missed the last two days. I have a real, full-time job that's been very hectic and I wasn't able to craft or edit anything since Tuesday. I will makeup for it, though! Keep a watch out for a few double post days coming up! There will be 25 Christmas posts by the 25th. XOXO