

Counting down to Christmas is so much fun! I absolutely adore advent calendars and growing up counted down every year on an embroidered one my grandma made us. This year I was a bit lazy and missed the first of the month. By December 5th, I'd come up with this idea, but felt silly making a 25 day advent calendar when I'd already missed the first week of December! So I decided to not let a good idea go to waste and to celebrate the 12 days of Christmas instead by starting my countdown tomorrow all the way to the big day!
What you'll need:

I got almost everything from Target in one quick trip!
Craft Paper (I used wrapping paper)
Paint (in Shimmer Egg and 20k Gold)
Burlap pouches
Gold Felt (last minute idea)
Gold Felt (last minute idea)
Glue Gun & Glue
Paintbrushes (one wide and one narrow)
Masking tape or Painter's tape
X-Acto Knife
This was the inspiration! It was nice to have a reference sketch to look at while I painted.

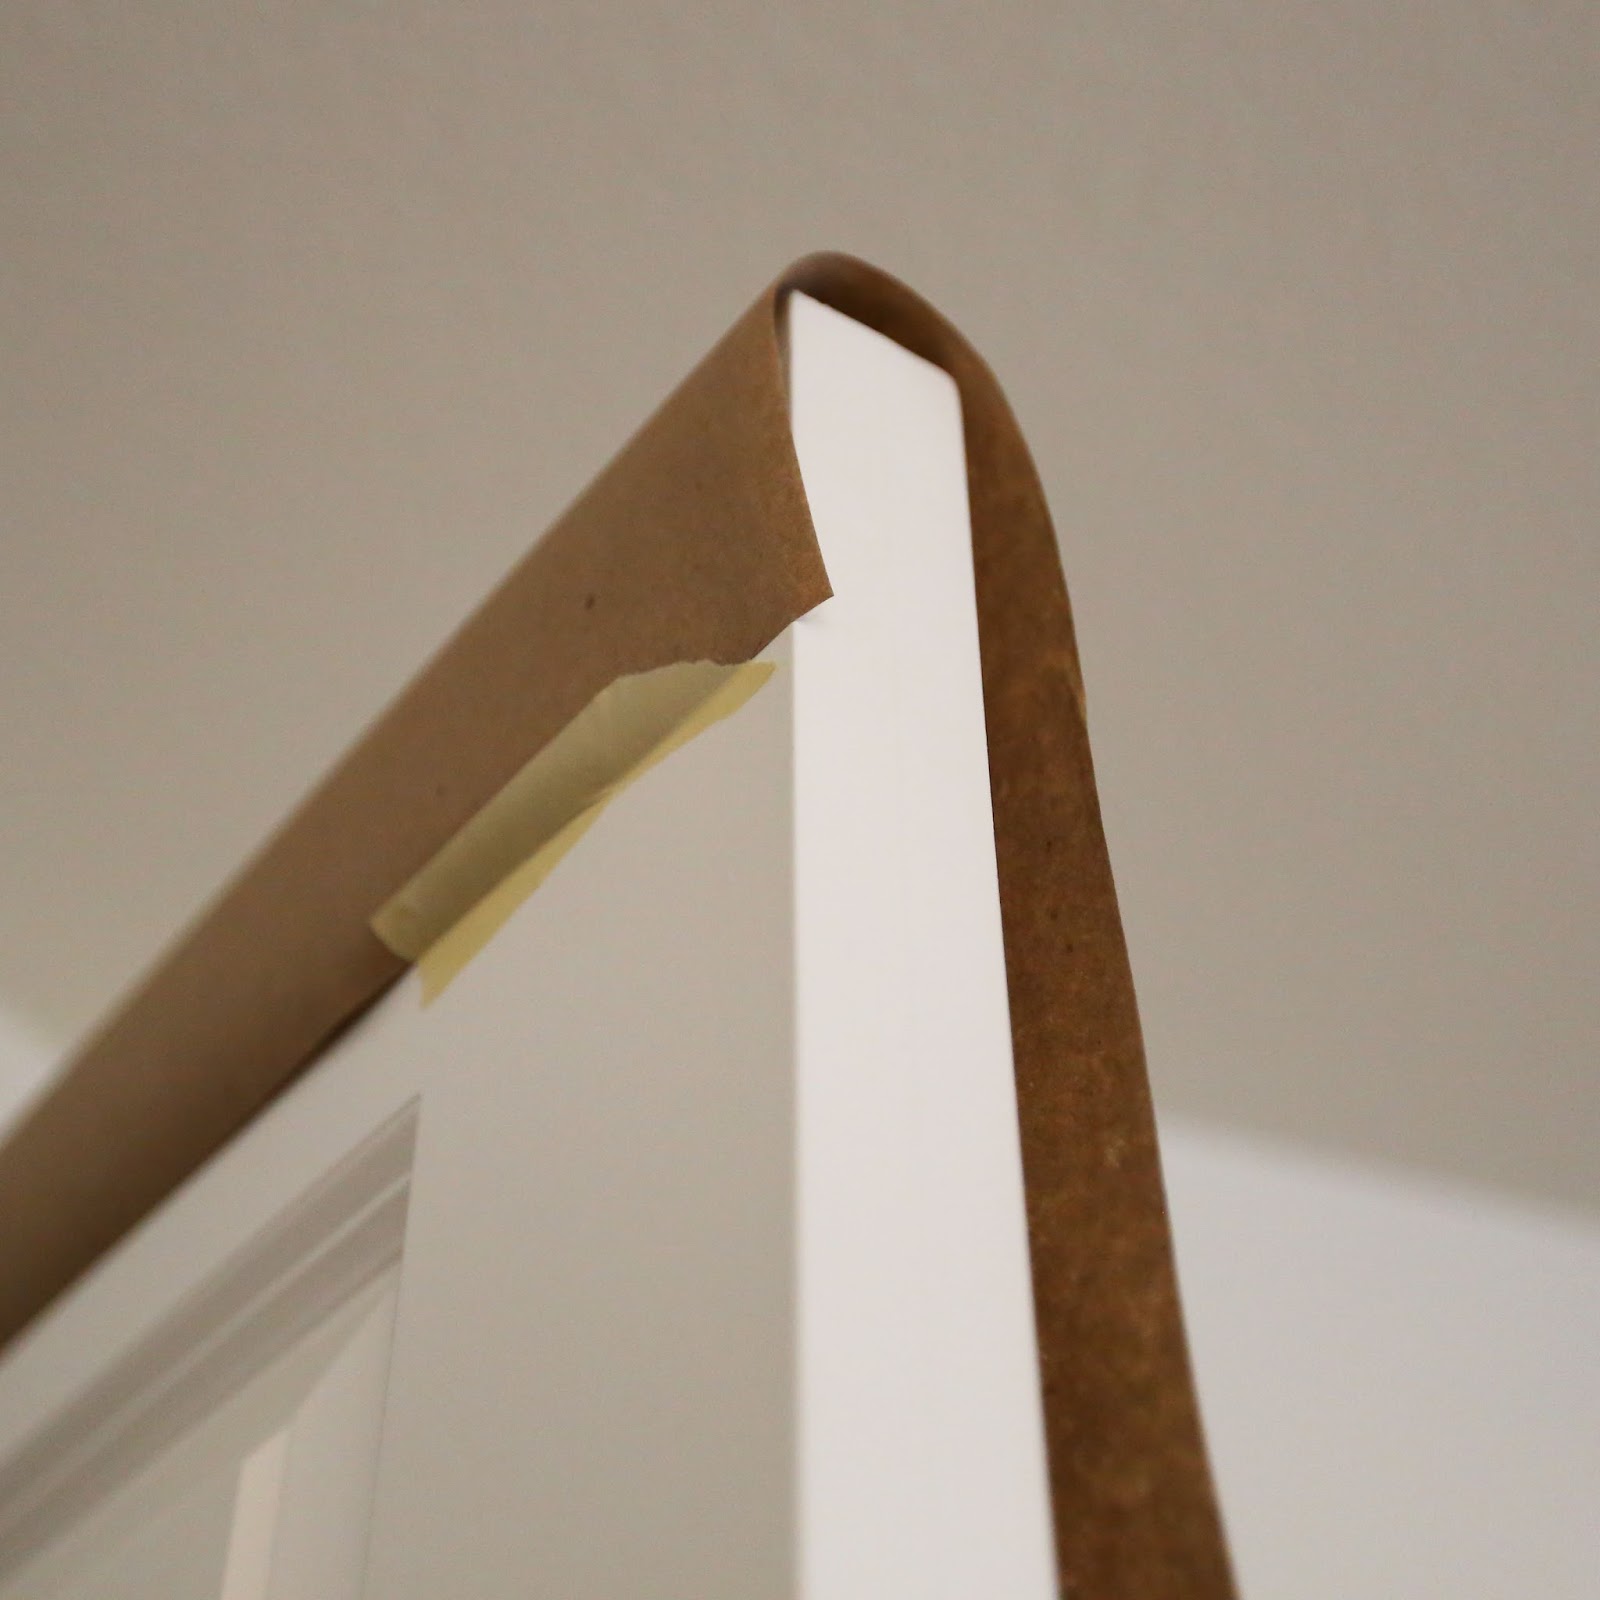
Step 1: Roll out your paper and fold it over the top of your door. Use masking tape to secure it.
Step 2: Cut out spaces for the door knob, and in my case, the bumper for the wall.

Step 3: Cut off the bottom of the paper with enough extra to wrap under the door. Once again, secure it with the masking tape so that it doesn't catch on anything.

Step 4: I used a piece of felt as a guide at the top so when I painted there would still be room for the star. Then I started painting my tree with the white shimmer paint (it ended up looking really silver on the craft paper). I freehanded it, but I recommend tracing it with a pencil first.


Step 5: While you let the paint dry, start on your stencils and number your burlap bags.


Step 7: While the pouches dry, move back over to your painted tree to glue on the clothespins.
Using your hot glue gun put a thin line of glue and then stick it to your tree. Double and triple check that's where you want it to go because you can't take it off and try again.


Step 8: When your pouches are dry hang them from the clothespins!


Step 9: Add a star to the top and fill the little bags with goodies! KB is filling mine so check my Instagram and Twitter to see what he's hidden inside each one!
After Christmas, just take off the tape on the back, roll it up like a poster and use it again next year! I might add the thirteen other days next year for a full advent!

Only 12 days left! Who's excited?!
Love you lots,
 P.S. I am very sorry I missed the last two days. I have a real, full-time job that's been very hectic and I wasn't able to craft or edit anything since Tuesday. I will makeup for it, though! Keep a watch out for a few double post days coming up! There will be 25 Christmas posts by the 25th. XOXO
Using your hot glue gun put a thin line of glue and then stick it to your tree. Double and triple check that's where you want it to go because you can't take it off and try again.


Step 8: When your pouches are dry hang them from the clothespins!


Step 9: Add a star to the top and fill the little bags with goodies! KB is filling mine so check my Instagram and Twitter to see what he's hidden inside each one!
After Christmas, just take off the tape on the back, roll it up like a poster and use it again next year! I might add the thirteen other days next year for a full advent!
Only 12 days left! Who's excited?!
Love you lots,


No comments:
Post a Comment